Goals and Waterfalls are features that allow you to track and analyze diverse ways in which users interact with your webpage. Both of those features are based on auto-collected events that will allow you to get your numbers and answers almost immediately after setting up a Goal or a Waterfall. What’s the difference between them:
- Goals filter visits that collect all traffic that meets your goal settings, regardless of the order of events in a goal objective For example, if you set a Goal for two events - clicking 'Add to cart' and /cart/ page load - CUX will filter all visits that contain both of those actions in any order.
- Waterfalls, on the other hand, show the flow of the users between configured steps. It helps to identify which points of user journey are generating most drop-offs or how many users successfully finish the task. For example, if you create a Waterfall with three steps - product page load → click on Add to cart → /cart/ page load - CUX will show how many visits included the first two steps and, within those, how many continued to the Cart page.
Apart from this, setting up a Goal or a Waterfall is an absolutely identical process. To create a new Goal or Waterfall you need to perform a few simple steps:
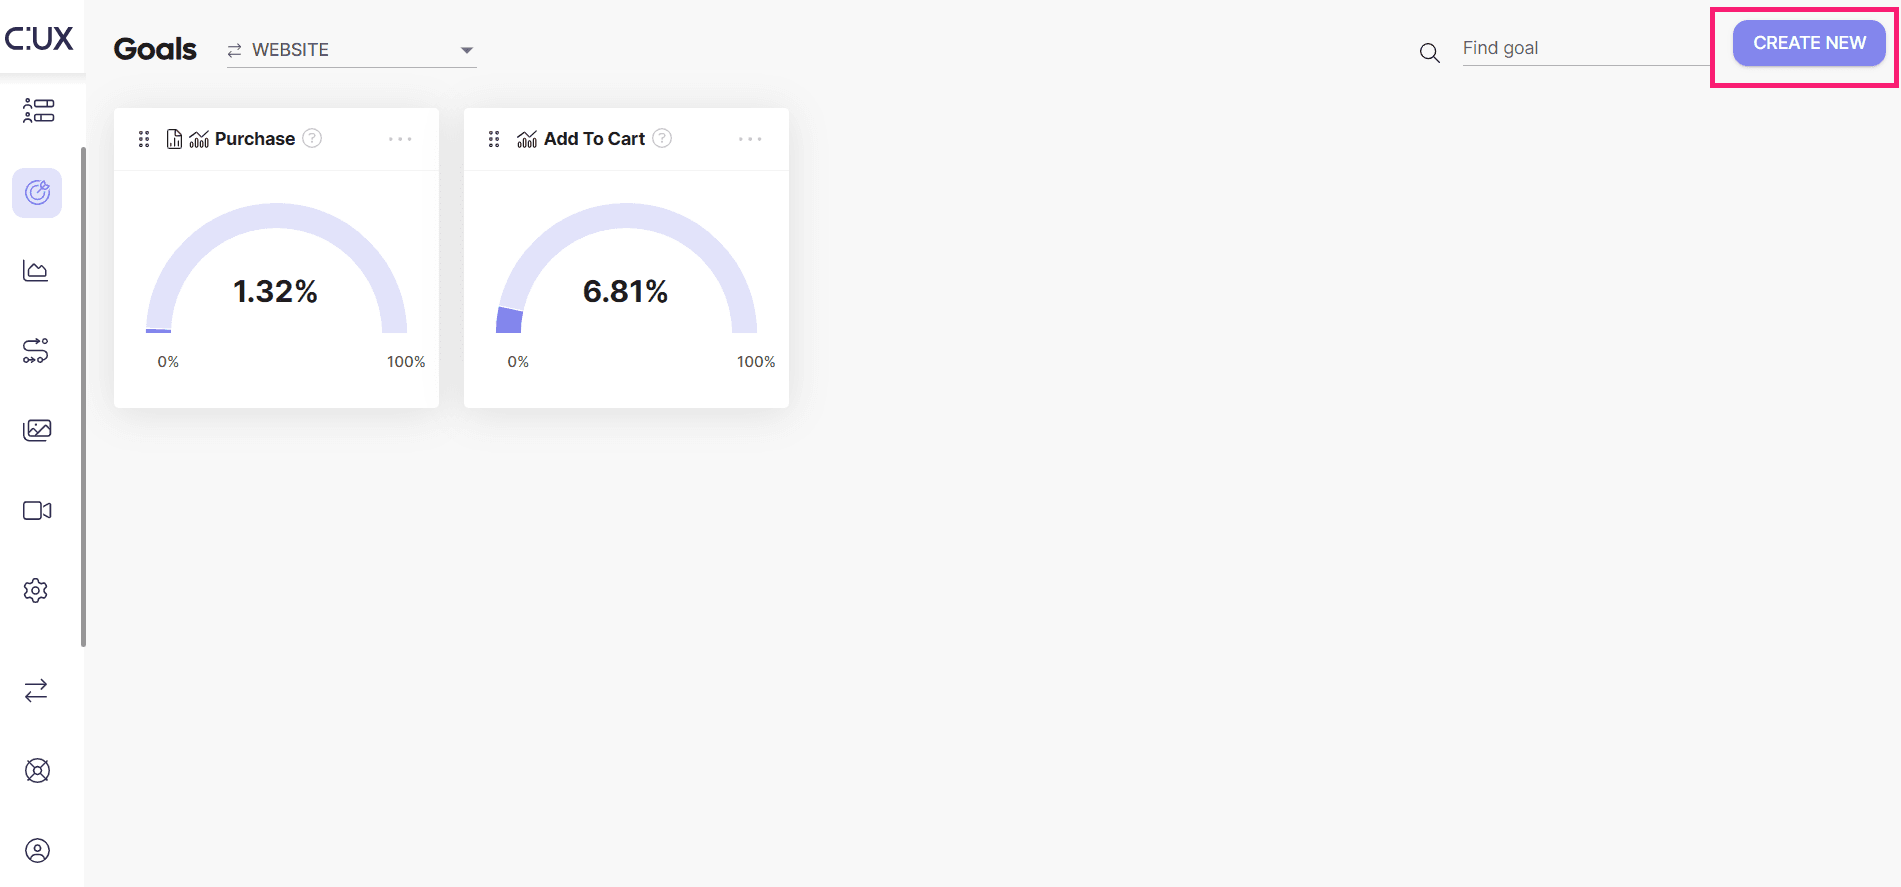
- Go to the Goals or Waterfalls tab.
- Click the “Create new” button on the top right corner of the screen
- Name your Goal/Waterfall and (optionally) add a description. Try to choose a meaningful name for your Goal so that it is easily recognizable. We also highly recommend adding a short description, especially if you are working with CUX as a team.
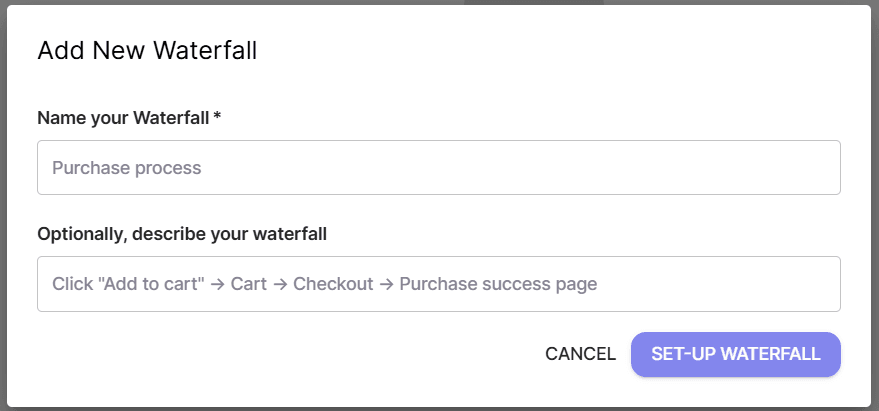
- Click “Set-up Goal” or “Set-up Waterfall”.
- Select “Add Event”. This will launch the CUX event configurator.
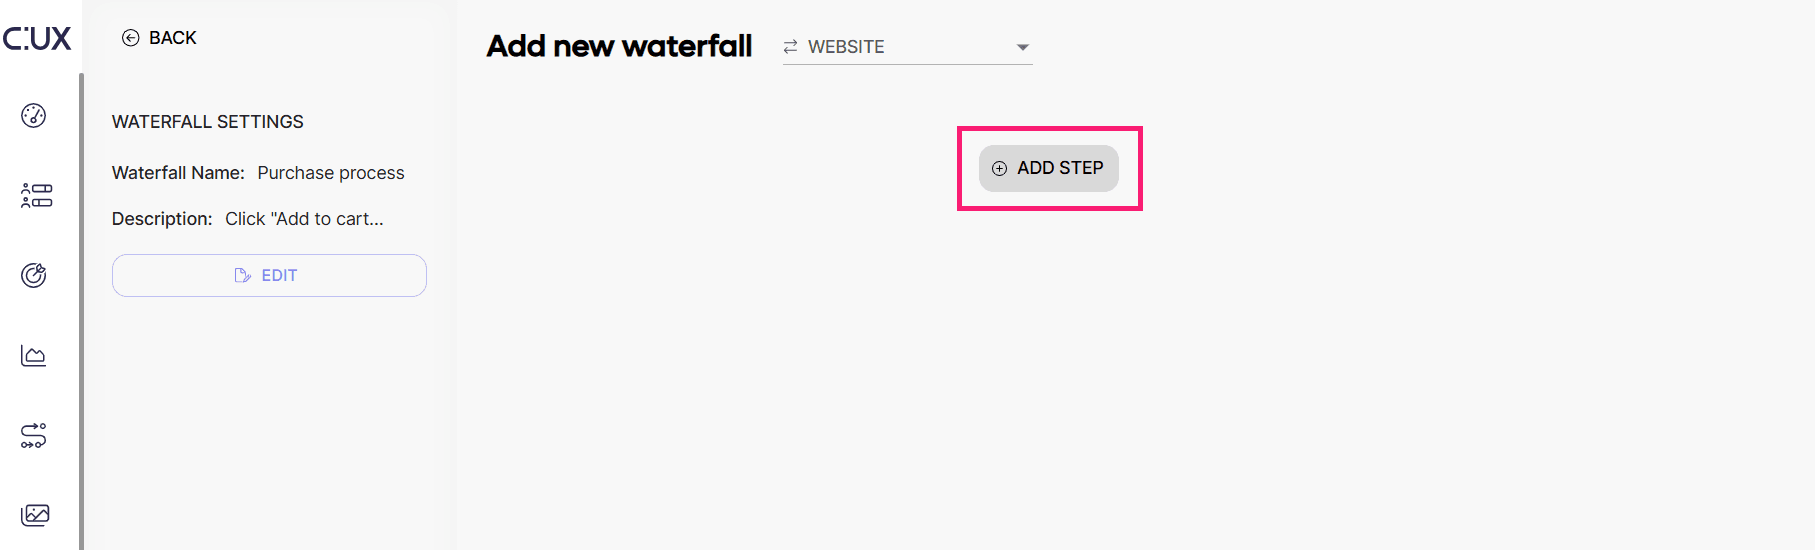
- Select and configure the Event you are interested in. Choose from traffic tracking events, pointer actions, or form interactions. For some events, you may also use advanced settings.
- Add/remove any number of steps. You can change the order of the steps by dragging the tiles.
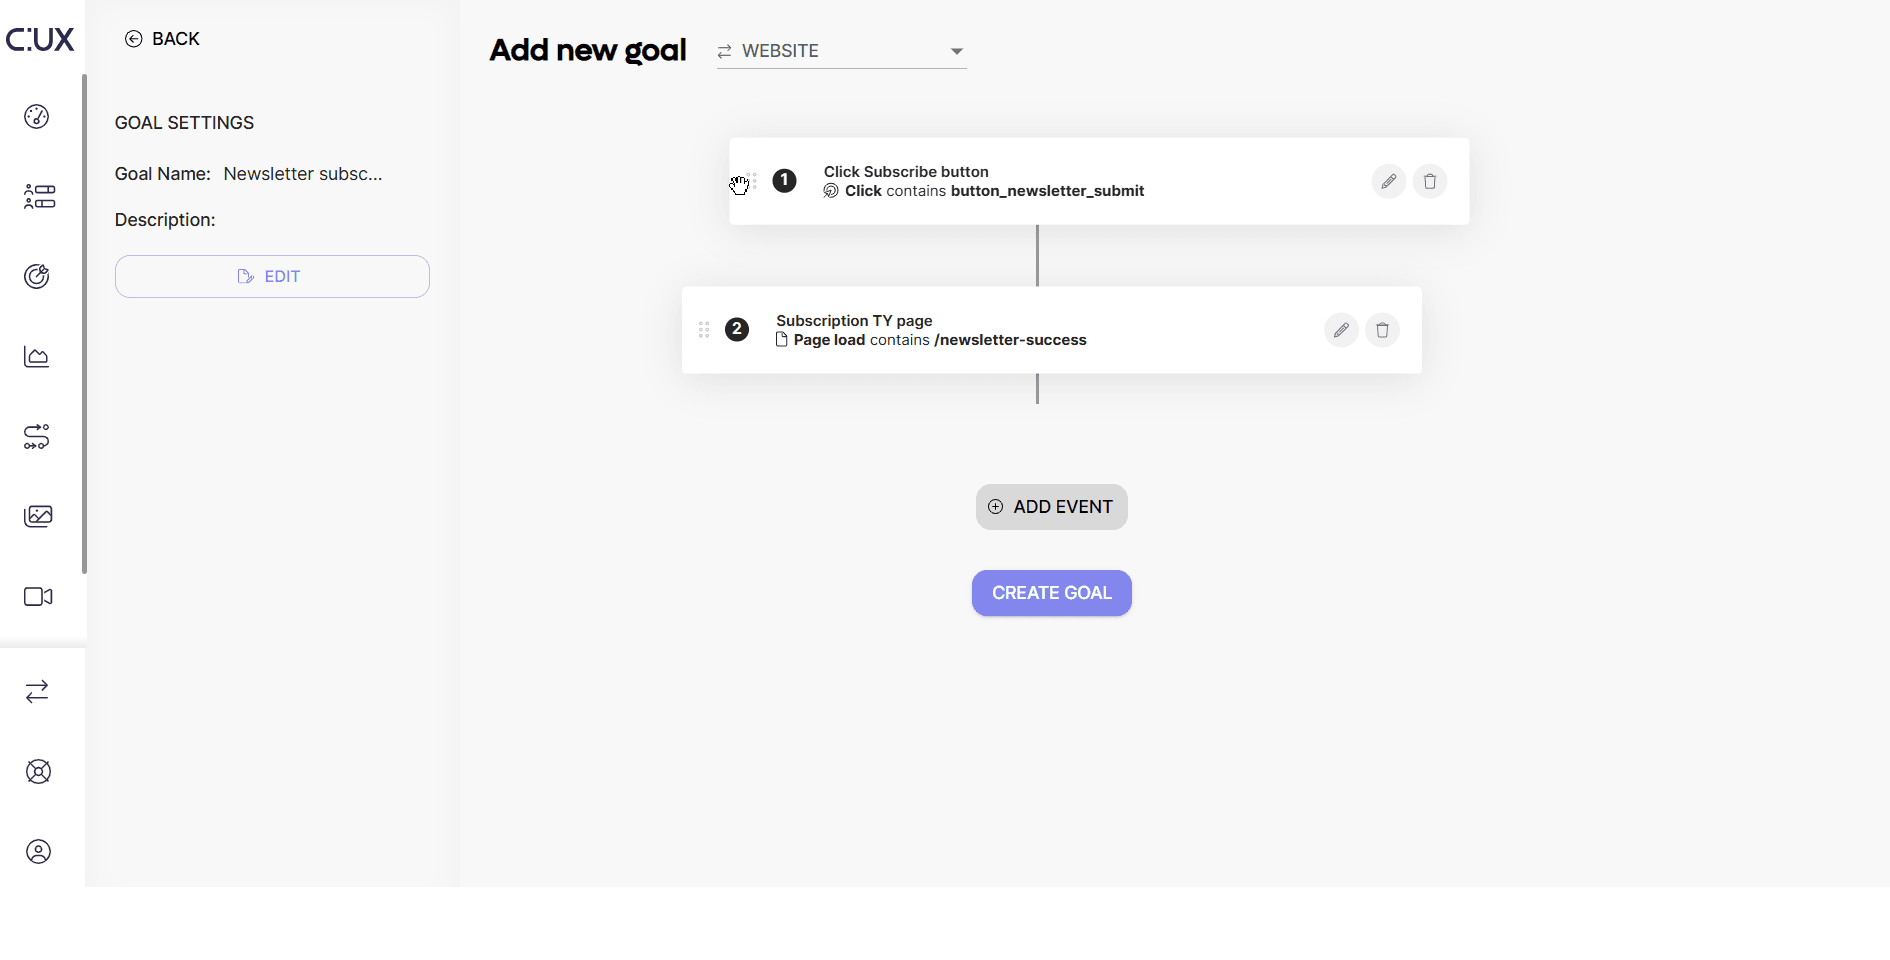
- Once you're done with the settings, select “Create Goal” or “Create Waterfall”.
Note, that after you’ve created and saved a Goal or Waterfall - it will take a maximum of a few minutes for CUX to upload settings and present your pre-filtered data.