Building your custom Goals
If you’re looking for a more general description of what is CUX Goal, see What is a Goal?
To create a Goal in CUX:
- Go to the Goals page.
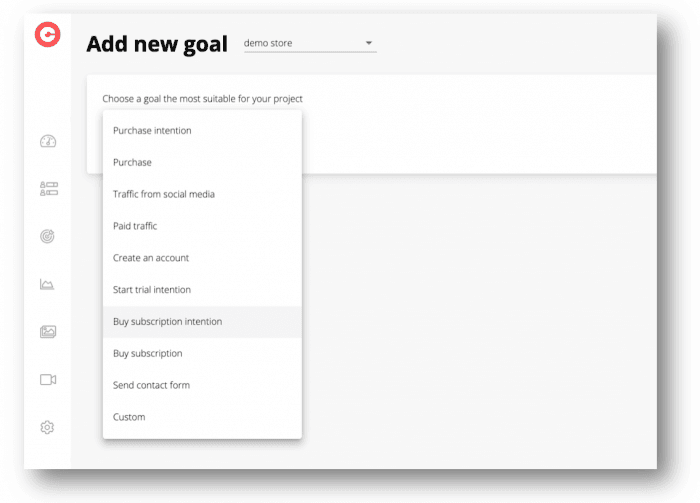
- Click Add New Goal. This starts the Goal creation process.
- Begin with a name (and description). Enter a meaningful name so that you can later find the Goal you need. The description is optional.
NOTE: If you’re adding more than one Goal, remember to choose your main one. You’ll do so by marking the star on the chosen Goal – it’ll be the Goal visible on the CUX Dashboard everytime you’ll log in.
- Add a step. A Goal step is a single visitor action. You can create Goals that consist of 2 or 3 steps. You can also build a complex one with more steps. There is no technical limit to the number of steps. 4.1. Enter a step name. You will see it later when the Goal is ready. Try to use a name that reflects an action you want your visitors to take. 4.2. Select an event and define its parameters. You can select events from 4 categories: events related to web traffic (page load or visit origin), user movement on the page (click or scroll), and user interaction with a form (entering data, changing data, submissions) or a custom Goal. To learn more about event types and their function, see Goal events.
Note that, for some types of events that represent user interaction with your page element, you need to enter those elements’ XPath. CUX has a built-in mechanism to make the process smoother. To learn more about XPath, see XPath extraction.
- Optionally repeat adding and configuring steps until you’ve mirrored the entire sequence of actions.
You and your Goal are all set!